TIPs For installing Rosun garbage disposal.
Rosun garbage disposal

Rosun garbage disposal

1. Even the best disposal sounds like a thrashing machine when installed in a cheap sink.
2. Installing a Rosun garbage disposal is a relatively easy task compared to many DIY plumbing projects. Actually, the hardest part is lifting, and then holding the unit in place, long enough to interlock with the mounting ring. This part of the task may require the assistance of a teenager with weight lifting experience.
3. The first step is to install the disposal mounting ring assembly which takes the place of the sink drain. Before installing the new parts make sure that all of the old plumber’s putty has been scraped away from the opening and that it is thoroughly clean.
4. Three screws hold the new parts in place. We think it is one of the most ingenious connections in the home.
5. Don’t forget, the water seal is provided by a pencil sized application of plumber’s putty between the lip of the new drain and the sink.
6. With the drain assembly tightly in place the disposal can be “twist locked” onto it with the turn of a “disposal wrench”.
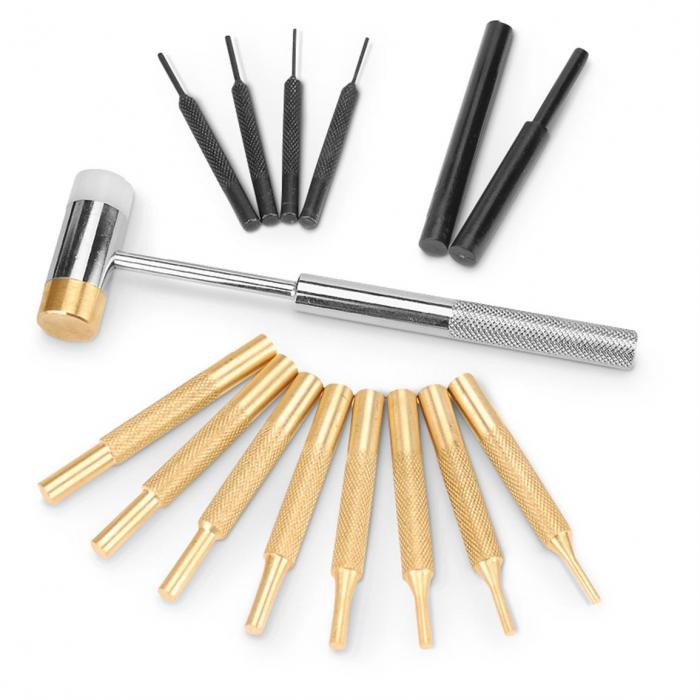
7. Last but not least, simply connect the drain. If you have a dishwasher its drain hose also is connected to the disposal. A plug located in the dishwasher drain inlet of the disposal will have to be knocked out using a hammer and a punch.
8. Once in a while you will find that the air vent on the sink will overflow when the dishwasher is running. This is because the disposal has thrown waste into the dishwasher drain hose and partially clogged it. When this happens remove the hose from the disposal, clean it out with a hangar and everything should work just fine once the hose has been replaced.
Caution: Never discard shells, pits or fibrous waste into disposal. And for continuous feed disposals – never force large volumes of anything into the disposal at one time. This can cause drain clogs. And, good luck!
#rosun garbage disposal
#max garbage disposal
#garbage disposal