How to Install a Rosun Garbage Disposal
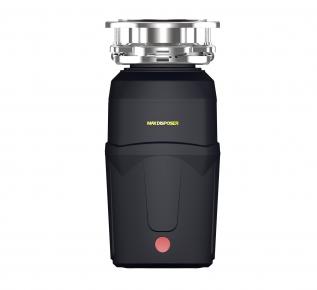
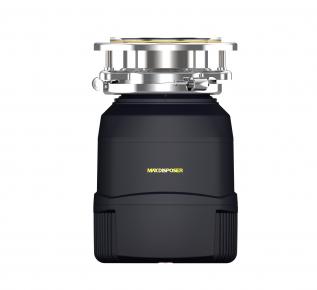
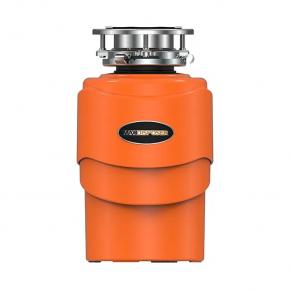
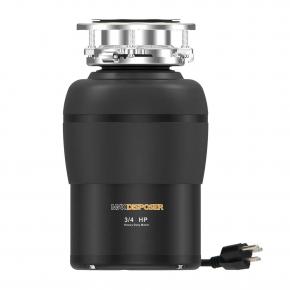
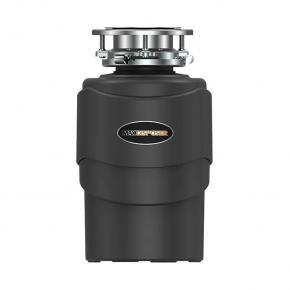
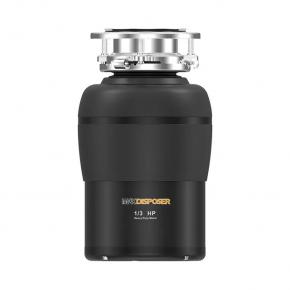
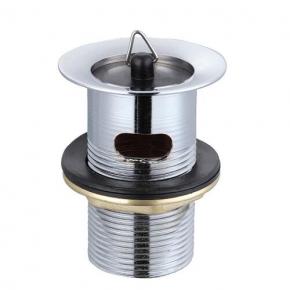
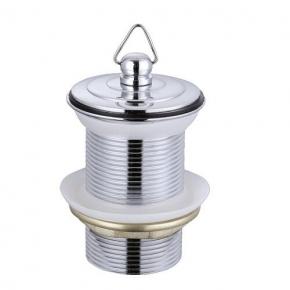
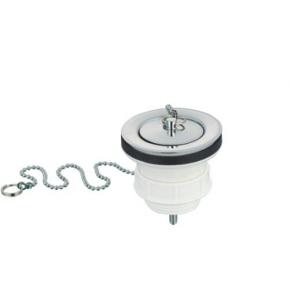
Rosun garbage disposal

Rosun garbage disposal
These expert illustrated instructions will guide you step-by-step through the process of installing a garbage disposal.
Installing a garbage disposal where one existed before can be relatively easy if you know the tricks of the trade.
Though replacing an existing garbage disposal with a new one is a relatively easy task, installing a disposal where there wasn’t one before requires both plumbing and electrical skills. Starting from scratch is something you should tackle only if you are an experienced do-it-yourselfer. Otherwise, hire an appliance installation pro.
Chapter 1. Electrical Requirements
When replacing an existing garbage disposal, you can just use the necessary electrical power and switch. A garbage disposal must plug-in to a 120-volt GFCI (ground-fault circuit interruptor) outlet under the sink for power. If an outlet like this isn’t available under your sink, you’ll have to have an electrician install one. Be aware that most types of disposals require a switch adjacent to the sink to control the outlet—the electrician should wire for this, too.
Note: Batch-feed disposers don’t require a switch because they start when you insert and turn a special drain plug.
Instead of wiring a conventional electrical switch, a good option is to buy an “air switch” for about $50. You can plug the disposal into this simple little device and then plug the air switch into an existing outlet; the garbage disposal is controlled by a small button that you can mount nearby on the countertop or cabinet. Another option is to use a remote-control switch.
Chapter 2. Selecting a New Disposal
If you buy a replacement that’s made by the same manufacturer as your old model, you may be able to bypass the need to replace the waste assembly and mounting flange in the sink, significantly simplifying the job (it can be a larger, more powerful unit—it just needs to have the same mounting flange).
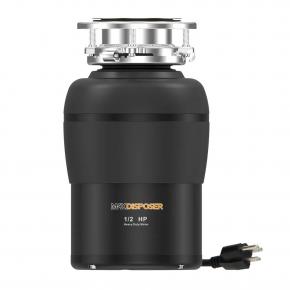
The more powerful and quieter the garbage disposal you buy, the larger it will be. Make sure the one you intend to buy will fit under your sink.
Chapter 3. Preparing the Area
When replacing an old garbage disposal, start by unplugging it. If it’s hard-wired, shut off the power to the circuit that will serve the disposal before beginning any work and disconnect the wiring. Test the bare ends of the wires with an electrical voltage tester to make sure they are not charged.
To provide better access and make your work easier, you may be able to temporarily remove the cabinet doors under the sink, depending on their construction.
When working under the sink, wear safety glasses, especially when you need to lay on your back looking upward. Have a bucket or bowl and some rags ready to catch drain water when you disconnect the drains. You’ll also need standard and Phillips screwdrivers, a hammer, a pipe wrench or locking-jaw pliers, and plumber’s putty.
Chapter 4. Preparing the Rosun Garbage Disposer
Organize the components of your new garbage disposal on the countertop or floor.
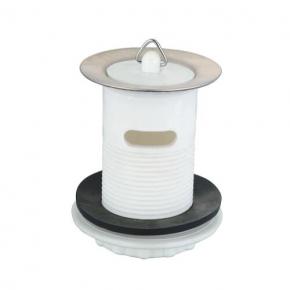
You’ll have the disposer unit, the sink-mounting assembly, an L-shaped tailpipe with mounting hardware, the sink stopper, and—with some brands—a special hex “wrenchette” that is used both for mounting the unit and for inserting into a hex hole in the disposer’s underside when repair is needed to break free clogs.
You’ll need a power cord, which you can usually remove from the old disposal and reuse. Be sure to read the manufacturer’s installation instructions.
1. Attach the tailpiece to the disposal unit.
2. If your existing garbage disposal has a dishwasher hose attached to it (this is usually the case if you have both a dishwasher and a disposal), you’ll need to remove the dishwasher plug from inside the new disposal’s dishwasher drain nipple. Only do this if you’ll be attaching a dishwasher! Push the tip of a screwdriver up against the edge of the plug and tap until you break loose the plug. Then remove this plastic disc from inside the disposal (you can probably hold the unit upside down and shake it out).
3. If your disposal doesn’t have a cable clamp, screw one into the base of the disposer unit to secure the electrical cord. Unscrew the cover from the disposer’s electrical compartment. Thread the electrical cord through the cable clamp and into the disposal’s electrical compartment, and pull about 2 inches of the cord through the opening. Before you can actually attach the power cord to the unit, you’ll need to remove the old disposal from under the sink.
Chapter 5. Removing the Old Disposer
Under the sink, place a bucket or pan beneath the waste pipe, then use locking-jaw pliers or a pipe wrench to disconnect the old disposal’s tailpiece from the drain line’s waste pipe. To loosen the nut, turn it counterclockwise.
Also remove the clamp or clip that secures the dishwasher’s drain hose to the disposal’s dishwasher nipple and pull off the drain hose.
At the top of the old disposer, put a screwdriver or the “wrenchette” into the right side of one of the lugs in the mounting ring. While holding the bottom of the disposal with the other hand, rotate the mounting ring counterclockwise to release the disposal. Be aware that the disposal may contain water and food waste, so carry it outside right-side up.
Then turn it over and, using a screwdriver, loosen the cable clamps that secure the cord, open the electrical compartment, disconnect the wire nuts and the cord from the disposal’s wires, and remove the cord.
Now you can attach the power cord to the new disposal. Strip 1/2-inch of insulation from the ends of the electrical cord’s wires. Secure the grounding wire (usually green) by the green grounding screw. Then twist together the bare ends of the cord’s black wire and the disposer’s black wire and secure with a wire nut. Then do the same with the white wires. Push the wires inside the compartment and screw the cover plate in place.
Chapter 6. Installing the New Disposer
If your disposal’s installation will require a new mounting flange in the sink, you’ll need to install that first. If you’re replacing an old disposer, remove it as discussed above. Otherwise, put a bowl or bucket under the drain trap and disassemble and remove the drain piping that connects to the underside of the drain basket. Remove the drain basket by unscrewing the large retaining nut that secures it (you’ll need very large locking-jaw pliers to grip this), turning counterclockwise.
1. From above, clean the area around the sink hole, then apply a coil of plumber’s putty around the perimeter. Push the sink flange down into the hole, embedded it securely in the plumber’s putty.
2. From below, place the washers and gaskets according to the manufacturer’s directions. Slip the mounting ring onto the flange then slide on the snap ring until it snaps into place. Equally tighten the three mounting bolts, sealing the flange tightly against the sink. Remove excess plumber’s putty.
3. Lift up the new disposer under the mounting ring and align the mounting tabs beneath the entry points in the mounting tracks. Turn the ring to engage the tabs so they lock onto the ridges. Use a screwdriver to tighten the connection. Rotate the disposal unit to align the discharge tailpiece with the drain trap, and then connect it. Depending upon the existing trap configuration, you may need to replace some or all of the drain piping beneath the sink to accommodate the disposal.
4. Using a band clamp or retaining spring, connect the dishwasher drain hose to the disposal’s dishwasher connection nipple (be sure you’ve removed the plug, as discussed above in Preparing a New Disposal).
5. Finally, plug the power cord into a GFCI-protected electrical outlet that is connected to a switch (or hard-wire it to an electrical box). If needed, buy and install an air switch or remote-control module.
#Rosun garbage disposal
#max garbage disposal
#garbage disposal


 Send Email
 service@rosun.com