How to Wire a Garbage Disposal With a Plug-In Cord
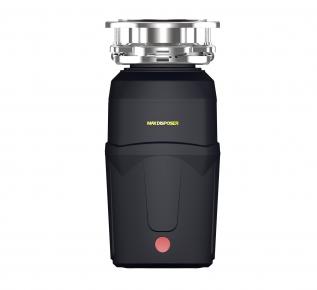
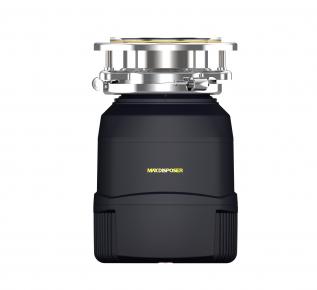
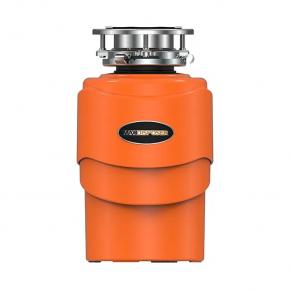
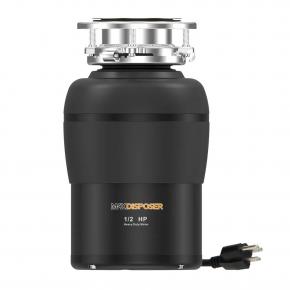
Rosun garbage disposal
Rosun garbage disposal
1. Garbage Disposal Wiring Basics
Garbage disposals (sometimes called food disposers) can be connected to the electrical power supply in one of two ways.
They are sometimes hardwired directly into a dedicated circuit controlled by a wall switch; or, they can be wired with a plug-in cord that inserts into a wall outlet that is usually located inside the sink base cabinet.
When hard-wired, the circuit wiring connected to the disposal runs through a switch that is installed in an electrical box either in the base cabinet or on a wall near the sink. The wiring between the disposer and switch typically is installed inside flexible metal conduit ("Greenfield") to protect the exposed portion of the wiring.
In the wall outlet method, it is the outlet that is controlled by a wall switch, usually located on the wall near the sink. This is the method is the method approved by code in most communities, although it is not uncommon to see the hardwired method used, especially in older installations. But if you are installing a new or replacement garbage disposal, it is best to use the outlet method. This will usually require you to connect your own plug-in appliance cord to the disposal.
Tip:
If you do not already have the necessary switch-controlled wall outlet, adding this wiring is a job best done by a licensed electrician, since it involves running cable and making connections at the main service panel. Most codes require that the garbage disposal must be served by a dedicated circuit that powers no other outlets or appliances. But even novice DIYers can easily do the work of connecting the plug-in appliance cord to a garbage disposal.
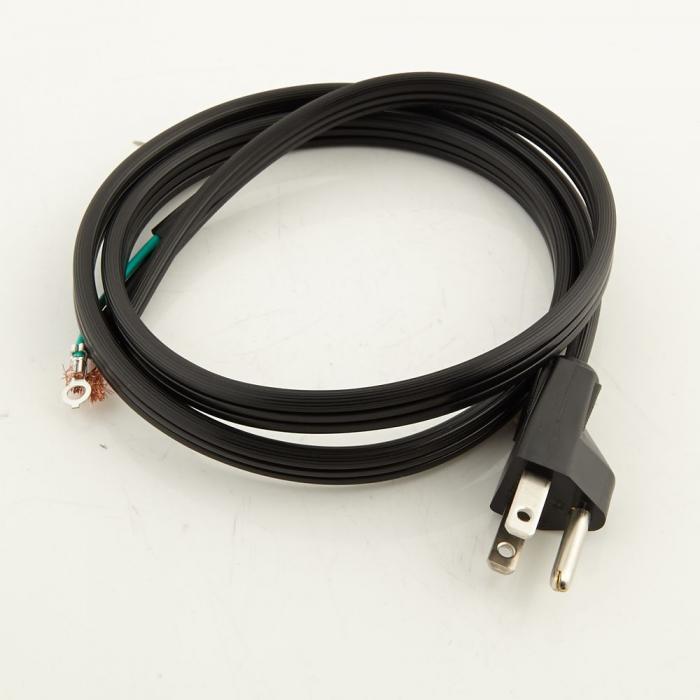
Cords typically are not sold with disposals and must be purchased separately. Be sure to use a grounded cord with the appropriate voltage and amperage ratings for your garbage disposal. It's usually easier to connect the cord to the disposal before mounting the disposal under the sink, but you can also complete the wiring after the unit is mounted.
Tools and Supplies You Will Need
o Phillips screwdriver
o Appliance power cord with plug (grounded)
o Cable clamp
o Wire strippers
o Plastic wire connectors (wire nuts)
2. Remove the Wiring Compartment Cover
Remove the metal cover from the wiring compartment on the bottom of the garbage disposal unit. On most units, the cover is secured with a single screw. Remove the screw with a screwdriver and set the pieces aside (you will need them later).
3. Install a Cable Clamp
Install a cable clamp into the hole near the wiring compartment. Insert the threaded end of clamp into the hole and secure it on the inside of the unit's base plate with the clamp's nut. You will have to reach through the wiring compartment to thread and tighten the nut onto the clamp. It may be necessary to tap on the lugs of the mounting nut with a screwdriver to tighten it down securely.
4. Strip the Cord Wires
Prepare the appliance cord wires for connection by stripping about 3/4 inch of insulation from the ends of each of the three insulated wires, using a wire stripper. If the cord wiring is stranded copper, be sure to use the "stranded" notches on the wire stripper. If the wiring is solid copper, use the "solid" notches. (Stranded copper is slightly larger than solid copper of the same nominal size, requiring that you use different notches on the wire stripper. )
5. Install the Cord
Feed the end of the cord that has the stripped wires through the cable clamp and into the wiring compartment. Secure the cord in the clamp by tightening the two screws on the clamp. Don't overtighten; the cord should be held securely but not compressed or deformed by the clamp.
6. Connect the Wires
Wrap the bare-copper end of the green (ground) wire of the cord clockwise around the ground screw on the disposal. Tighten the ground screw with a screwdriver to secure the wire. Connect the white (neutral) cord wire to the white (neutral) wire on the disposal, using a wire connector. Connect the black (hot) cord wire to the black (hot) wire of the disposal with a wire connector. Gently tug on each wire to make sure it is secure.
Note: With some disposals, the hot wire lead may be red rather than black. If so, then connect this red wire lead to the black wire in the appliance cord.
Continue to 7 of 7 below.
7. Reinstall the Wiring Compartment Cover
Carefully tuck the wires into the wiring compartment. Reinstall the compartment cover, securing it with its screw.
After the disposal is completely installed and the plumbing connections are made, plug in the disposal cord to a switch-controlled, GFCI-protected receptacle. Test the operation of the disposal by flipping the wall switch while running water through the sink.
#Rosun garbage disposal
#max garbage disposal
#garbage disposal


 Send Email
 service@rosun.com